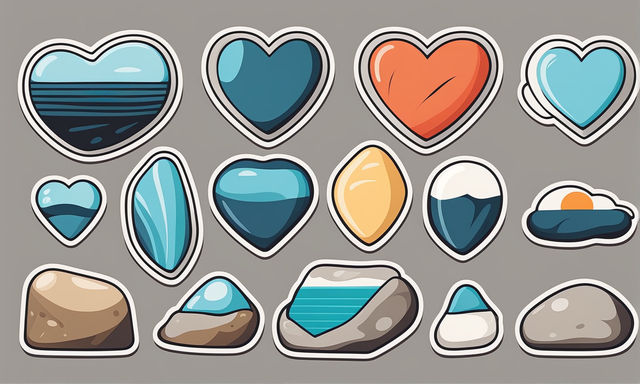
Let Your Creativity Bloom with These DIY Crafts!
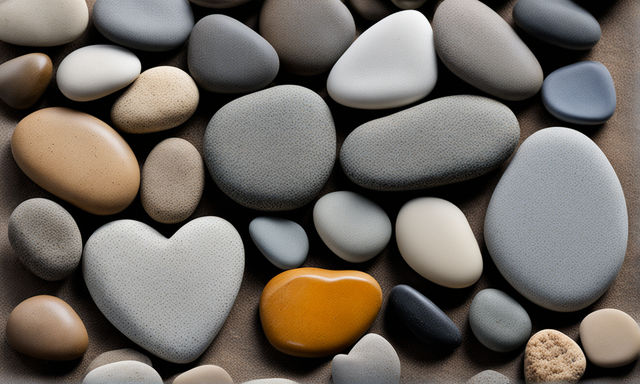
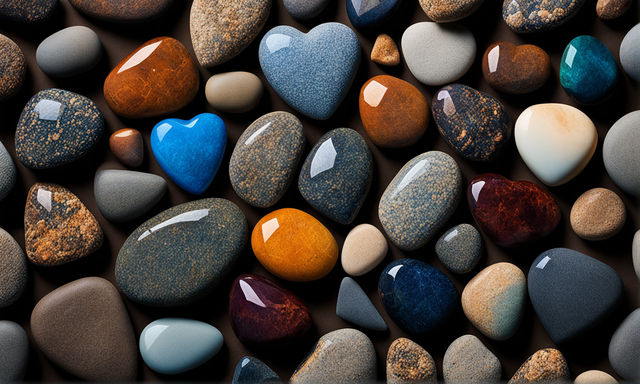
Heart-shaped stones, nature’s tiny treasures, offer endless possibilities for creative expression. From vibrant painted rocks to intricate mosaics and charming jewelry, they lend themselves to various DIY projects suitable for all skill levels. So, gather your crafting supplies, let your imagination take flight, and transform these natural wonders into unique pieces of art!
When you make a purchase through links on our site, we may earn an affiliate commission As an Amazon Associate I earn from qualifying purchases..
Before You Begin:
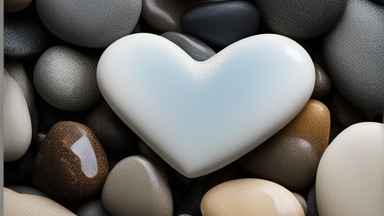
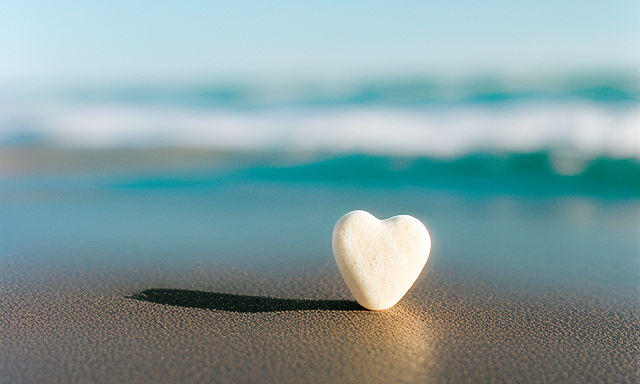
- Gathering your stones: Head to a beach, riverbank, or any place where naturally occurring pebbles reside. Look for smooth, heart-shaped stones in various sizes and textures. Remember to collect responsibly, taking only what you need and leaving no trace.
- Cleaning and prepping: Wash your stones thoroughly with soap and water to remove any dirt or debris. Allow them to dry completely before starting your project.
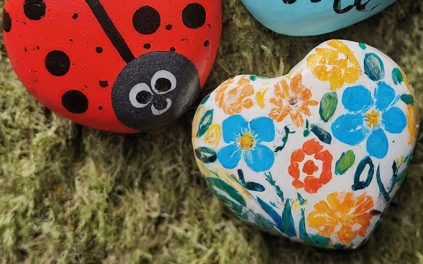
Painted Rock Masterpieces
This beginner-friendly craft lets you unleash your inner artist!
Materials:
- Acrylic paints in various colors
- Paintbrushes of different sizes
- Clear sealant (optional)
Instructions:
- Prime your canvas: Apply a thin layer of white acrylic paint to create a smooth base for your artwork. Let it dry completely.
- Embrace your inner Picasso: Unleash your creativity! Use your brushes and paints to create designs, patterns, messages, or even tiny faces on your stones. Get inspired by nature, holidays, or simply let your imagination flow.
- Seal the deal (optional): Once your masterpiece is dry, apply a coat of clear sealant to protect your artwork from fading or chipping, especially if you plan to display your stones outdoors.
Easy & Fun Painted Rocks for Beginners:
Heart-Shaped Rock Painting Inspiration:
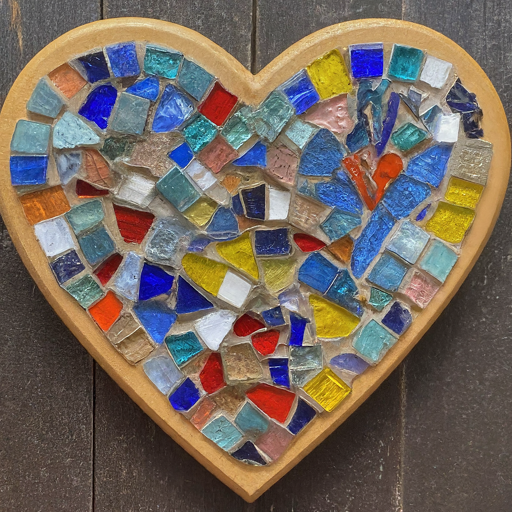
Mosaic Magic
This project requires a bit more planning but offers stunning results.
Materials:
- Heart-shaped wooden base (or sturdy cardboard)
- Broken ceramic tiles, glass pieces, or colorful pebbles
- Strong adhesive (e.g., tile glue)
- Grout (optional)
- Paintbrush
Instructions:
- Design your vision: Sketch or lay out your desired mosaic pattern on the wooden base. You can create a solid heart shape, a scene, or an abstract design.
- Break it down: Break your tiles, glass, or pebbles into smaller pieces, ensuring they fit within your design. Wear safety glasses while breaking!
- Mosaic magic: Using the adhesive, carefully glue each piece onto the base, following your design. Work in sections for better control.
- Grouting glory (optional): Once the adhesive dries completely, fill the gaps between the pieces with grout for a finished look. Smooth the grout with a damp cloth and let it dry according to the manufacturer’s instructions.
- Seal and shine: Apply a clear sealant to protect your mosaic masterpiece.
Beginner’s Guide to Mosaic Making:
Heart-Shaped Mosaic Tutorial:
Creative Pebble Mosaic Ideas:
Heartfelt Jewelry
Turn your stones into charming keepsakes or personalized gifts.

Materials:
- Heart-shaped stones
- Jewelry wire or cord
- Jump rings
- Clasps
- Beads (optional)
- Craft glue (optional)
Instructions:
- Drilled with care (optional): If you want to string your stone directly, carefully drill a small hole near the top using a diamond drill bit and appropriate safety measures.
- Wrapped in wire: Secure a length of wire by wrapping it around the top of the stone several times and twisting the ends together. Create a loop for hanging your pendant.
- Beaded beauty (optional): Thread beads onto the wire before attaching the stone, incorporating them into your design.
- Connecting the chain: Use jump rings to attach your wire loop to a chain or cord of your choice. Secure the clasp according to its type.
- Glued with love (optional): If you prefer not to drill, use strong craft glue to attach the wire loop or jump ring directly to the top of the stone. Let it dry completely before wearing.
Tips and Tricks:
- Experiment with different textures, like glitter, sand, or fabric scraps, to add dimension to your painted rocks.
- For mosaics, explore using natural materials like leaves, shells, or even coffee beans for a unique touch.
- When making jewelry, consider incorporating other meaningful charms or pendants alongside your heart-shaped stone.
- Share your creations online or gift them to loved ones, spreading the joy and beauty of these heartfelt crafts.
Turning Beach Stones into Jewelry:
Advanced Heart-shaped Stone Crafts
While the previous crafts offer delightful entry points, the creative possibilities with heart-shaped stones don’t end there. Dive deeper with these advanced projects, pushing your artistic boundaries and creating truly unique pieces:
Stone Balancing Mastery
Challenge your patience and focus with this meditative art form.

Materials:
- Collection of various sized heart-shaped stones
- Flat surface with good lighting (optional)
Instructions:
- Start small: Begin with two stones, carefully placing one on top of the other. Once balanced, add a third stone, finding its equilibrium point. Gradually add more stones, building your mini-sculpture.
- Patience is key: Take your time, adjust gently, and don’t get discouraged by occasional tumbles. Each balanced stone is a mini victory!
- Creative compositions: Experiment with different shapes, sizes, and stacking patterns to create unique and visually interesting structures.
Zen Rock Balancing Techniques:
Amazing Rock Balancing Art:
The Art of Stone Balancing:
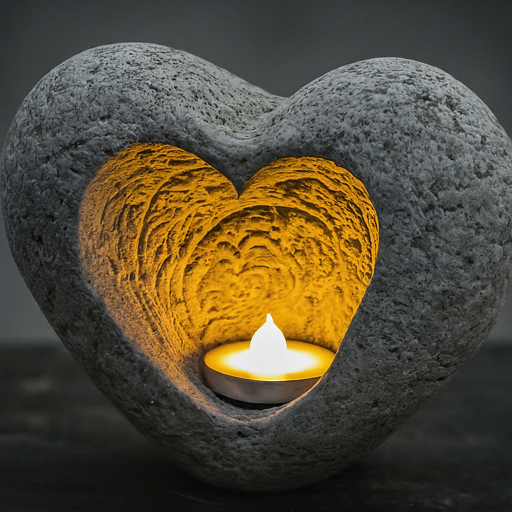
Illuminated Hearts
Transform your stones into enchanting lanterns, adding a touch of magic to your home decor.
Materials:
- Heart-shaped stones (thicker ones work best)
- Hammer and chisel (or Dremel tool)
- Safety goggles and gloves
- Tea lights or small LED lights
- Optional: stencils, markers, or paints for etching designs
Instructions:
- Safety first: Wear protective gear while using sculpting tools. Carefully hollow out a small cavity in the center of your stone, ensuring it can hold a tea light or LED securely.
- Light it up: Place your chosen light source inside the cavity.
- Etching artistry (optional): Use stencils, markers, or paints to create decorative patterns on the stone’s surface. The light shining through will illuminate your designs beautifully.
Making Luminous Stones with Tea Lights:
Kokedama Heart Gardens
Combine the beauty of stones and greenery with this unique living art form.

Materials:
- Large, flat heart-shaped stones
- Sphagnum moss
- Potting soil
- Small succulent plants
- Fishing line or thin wire
- Scissors
- Shallow dish (optional)
Instructions:
- Moss magic: Soak sphagnum moss in water until fully hydrated. Squeeze out excess water and mix it with a small amount of potting soil.
- Shape your heart: Wrap the moss mixture around the stone, molding it into a heart shape. Secure it with fishing line or wire, creating a tight ball around the stone.
- Plant life: Make a small indentation in the top of the moss ball and carefully plant your succulent.
- Hanging haven: Create a loop with the remaining fishing line or wire to suspend your kokedama heart. Alternatively, display it in a shallow dish filled with pebbles or decorative sand.
Mini Kokedama Garden Tutorial: Living Kokedama Art Tips and Tricks:
Remember, these are just a few springboards for your creativity. Don’t be afraid to experiment, combine techniques, and personalize your projects to reflect your unique style. Share your creations online, inspire others, and keep the love flowing through the art of heart-shaped stones!